Guide showing how to use zapier and Lead Assigns webhooks to populate a CRM!
You can now use webhooks to populate a CRM or complete other tasks in Lead Assign. For this walkthrough I will be using zapier, however, there are many automation tools that will work similarly.
- Head over to your Zapier account and start a new Zap.
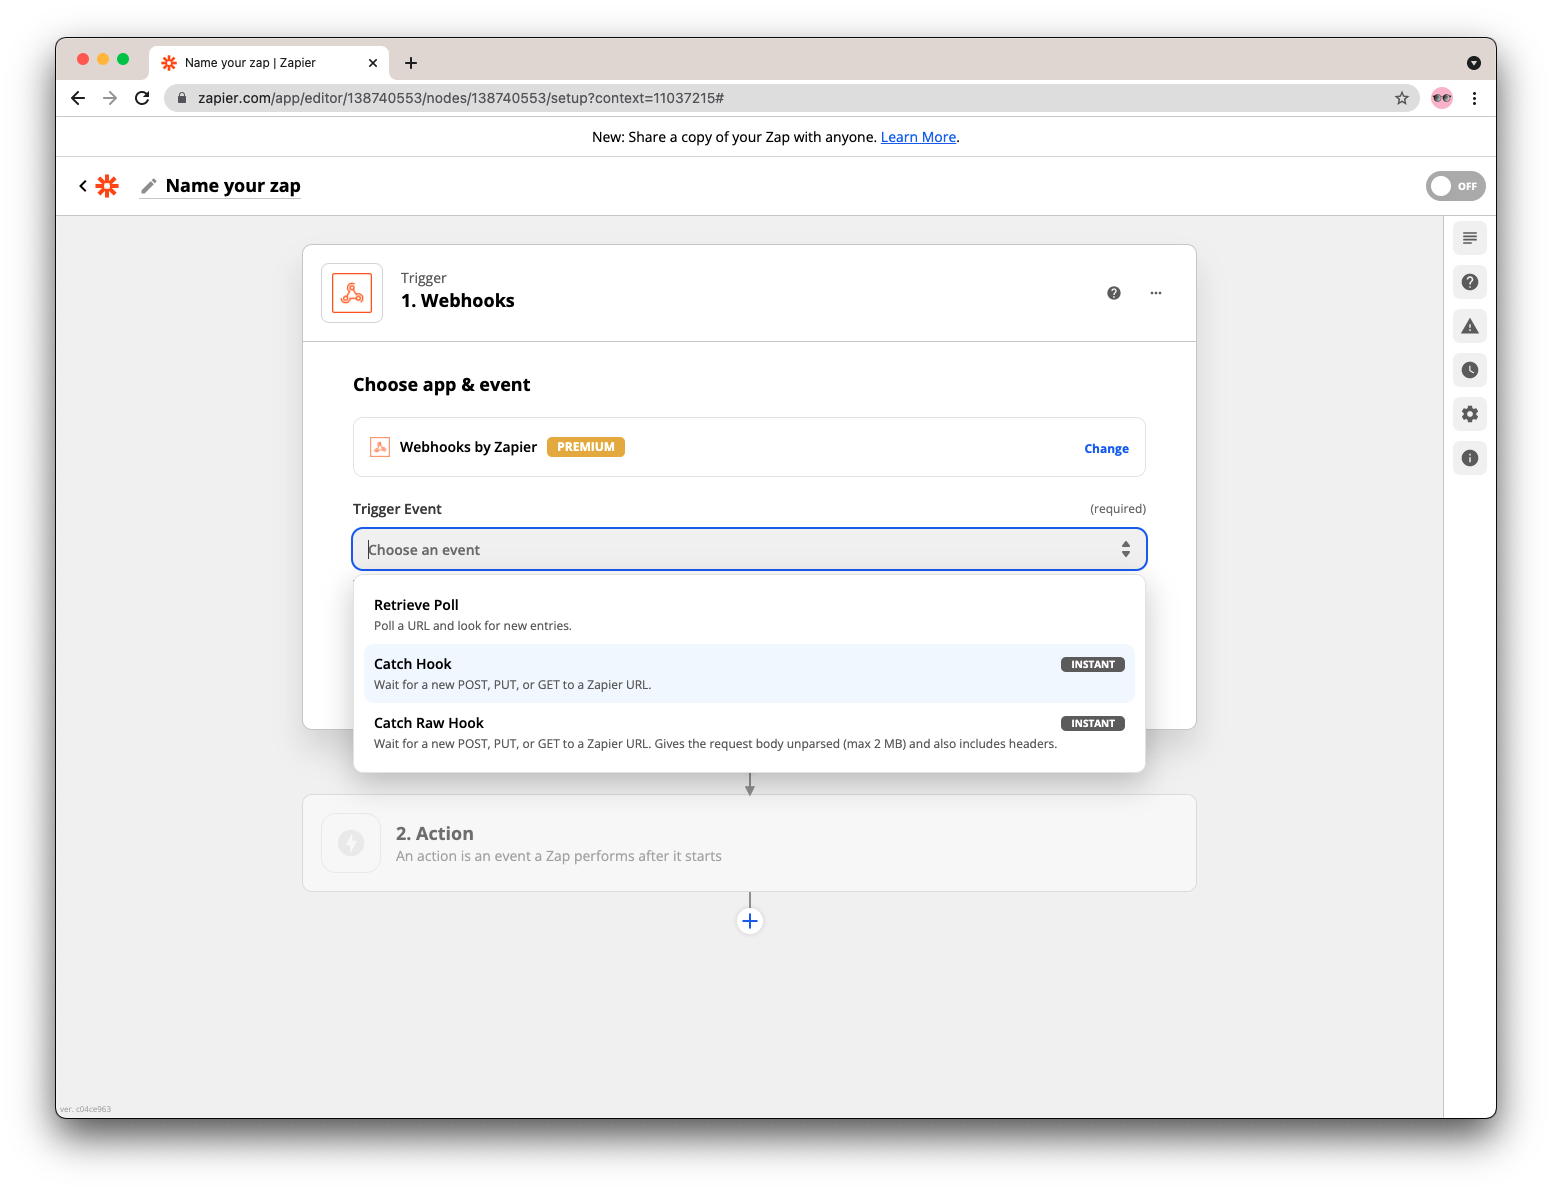
- Select Webhooks by Zapier as the app and Catch Hook as the Trigger Event.

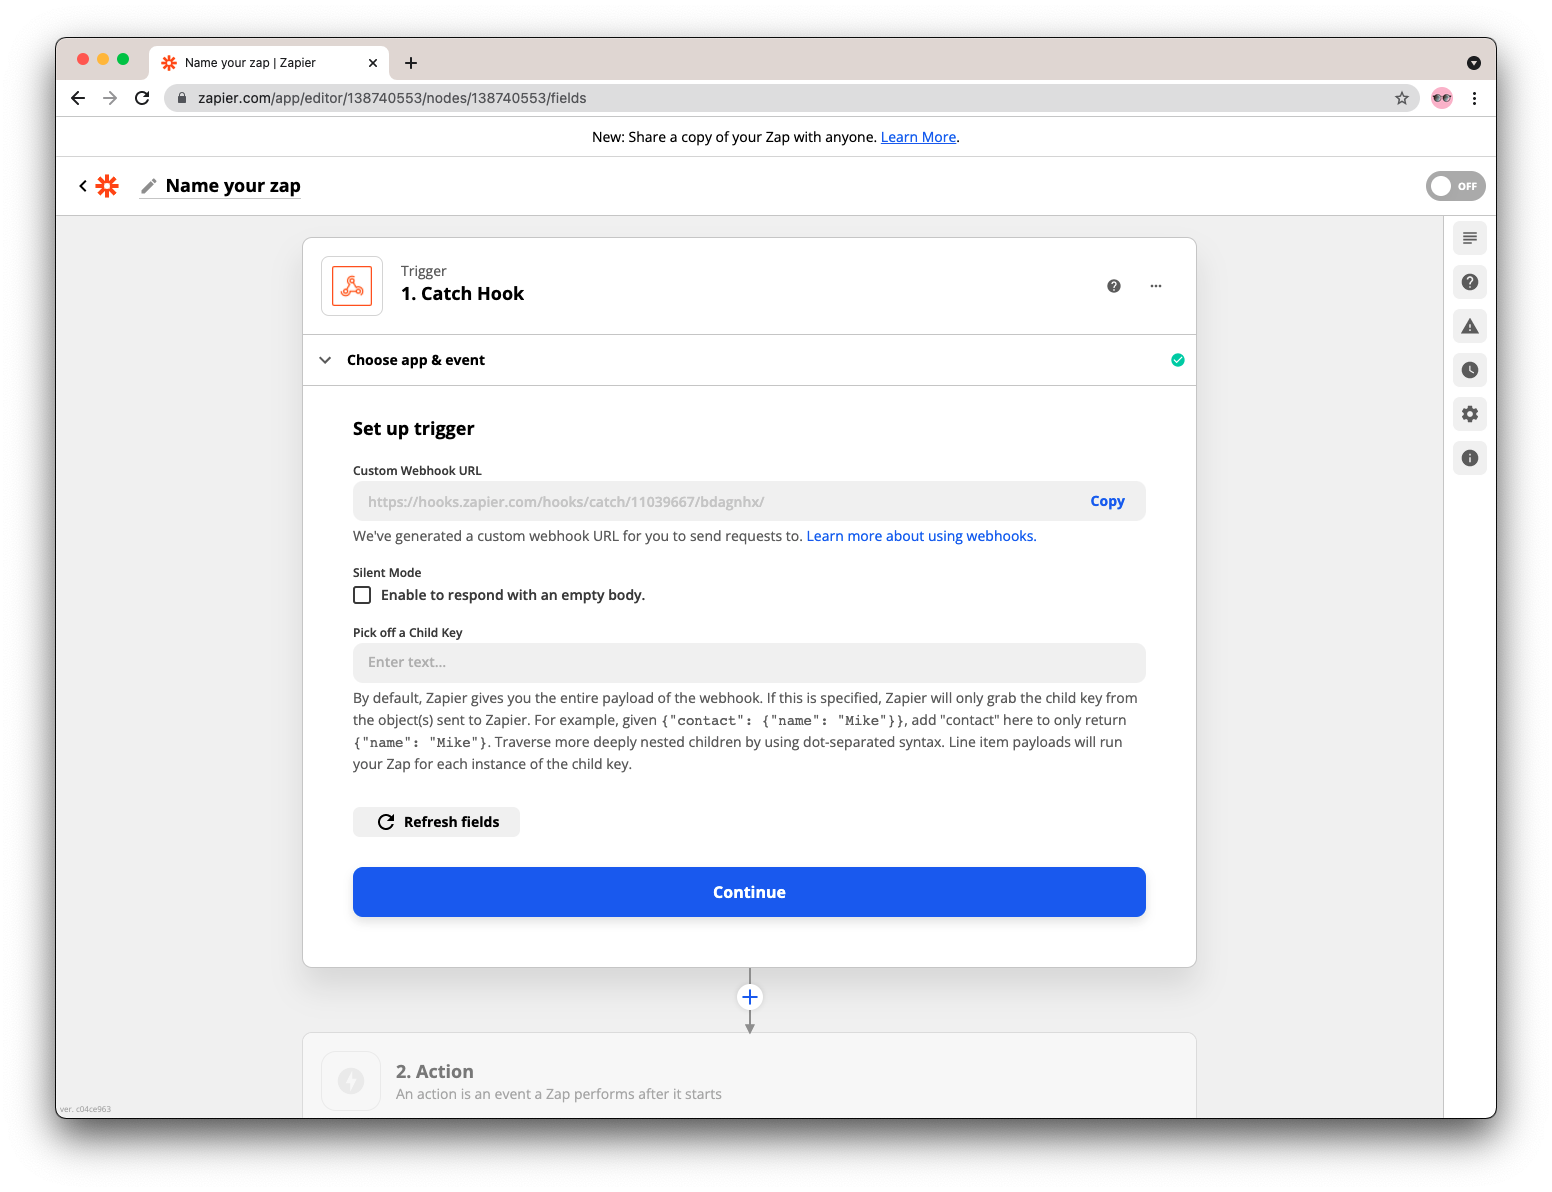
- After clicking Continue you will see a screen with a URL labeled Custom Webhook URL. Copy that and head to - https://app.leadassign.com/company_slug/webhook - use your company_slug from Getting Started With Your API

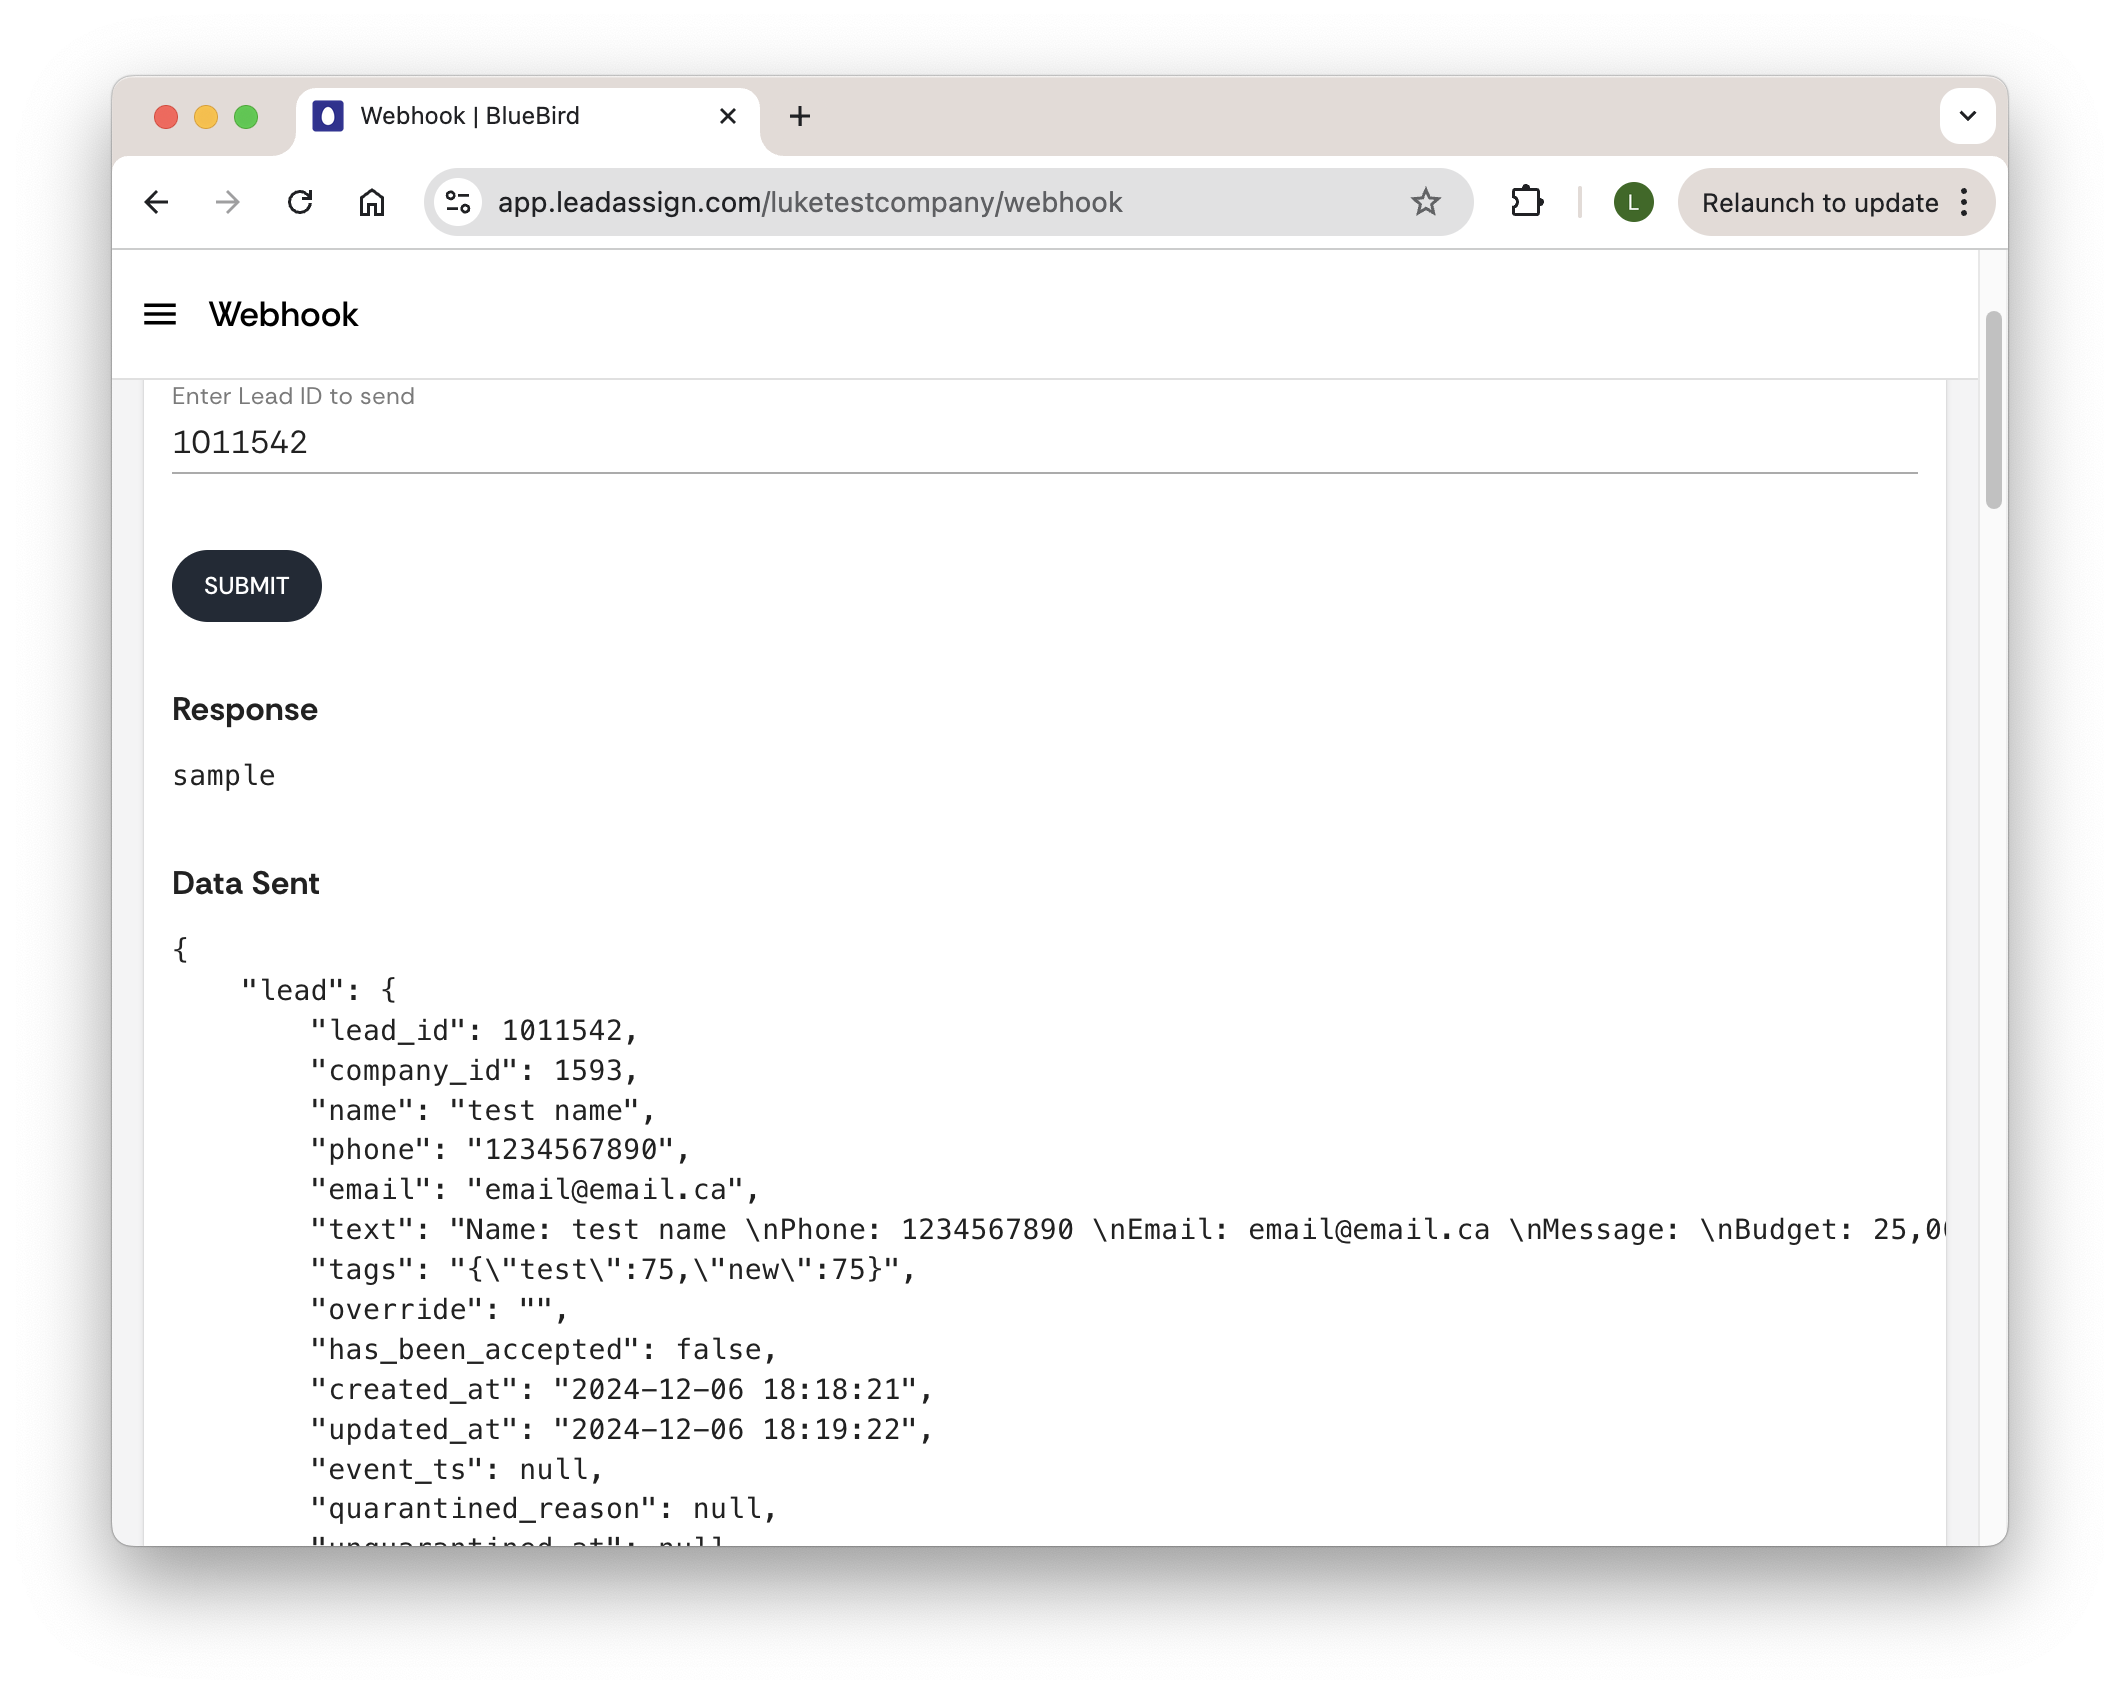
- Enter a Lead ID in the lead field for a recently ACCEPTED lead (see your leads page) and the URL you copied from Zapier and press submit. This will send information about the lead to zapier, imitating what will happen when an agent accepts.

- After testing your trigger you should see the message

-
Click Continue and finish programming your action by selecting the app and action event of your desired CRM, or other functionality.
-
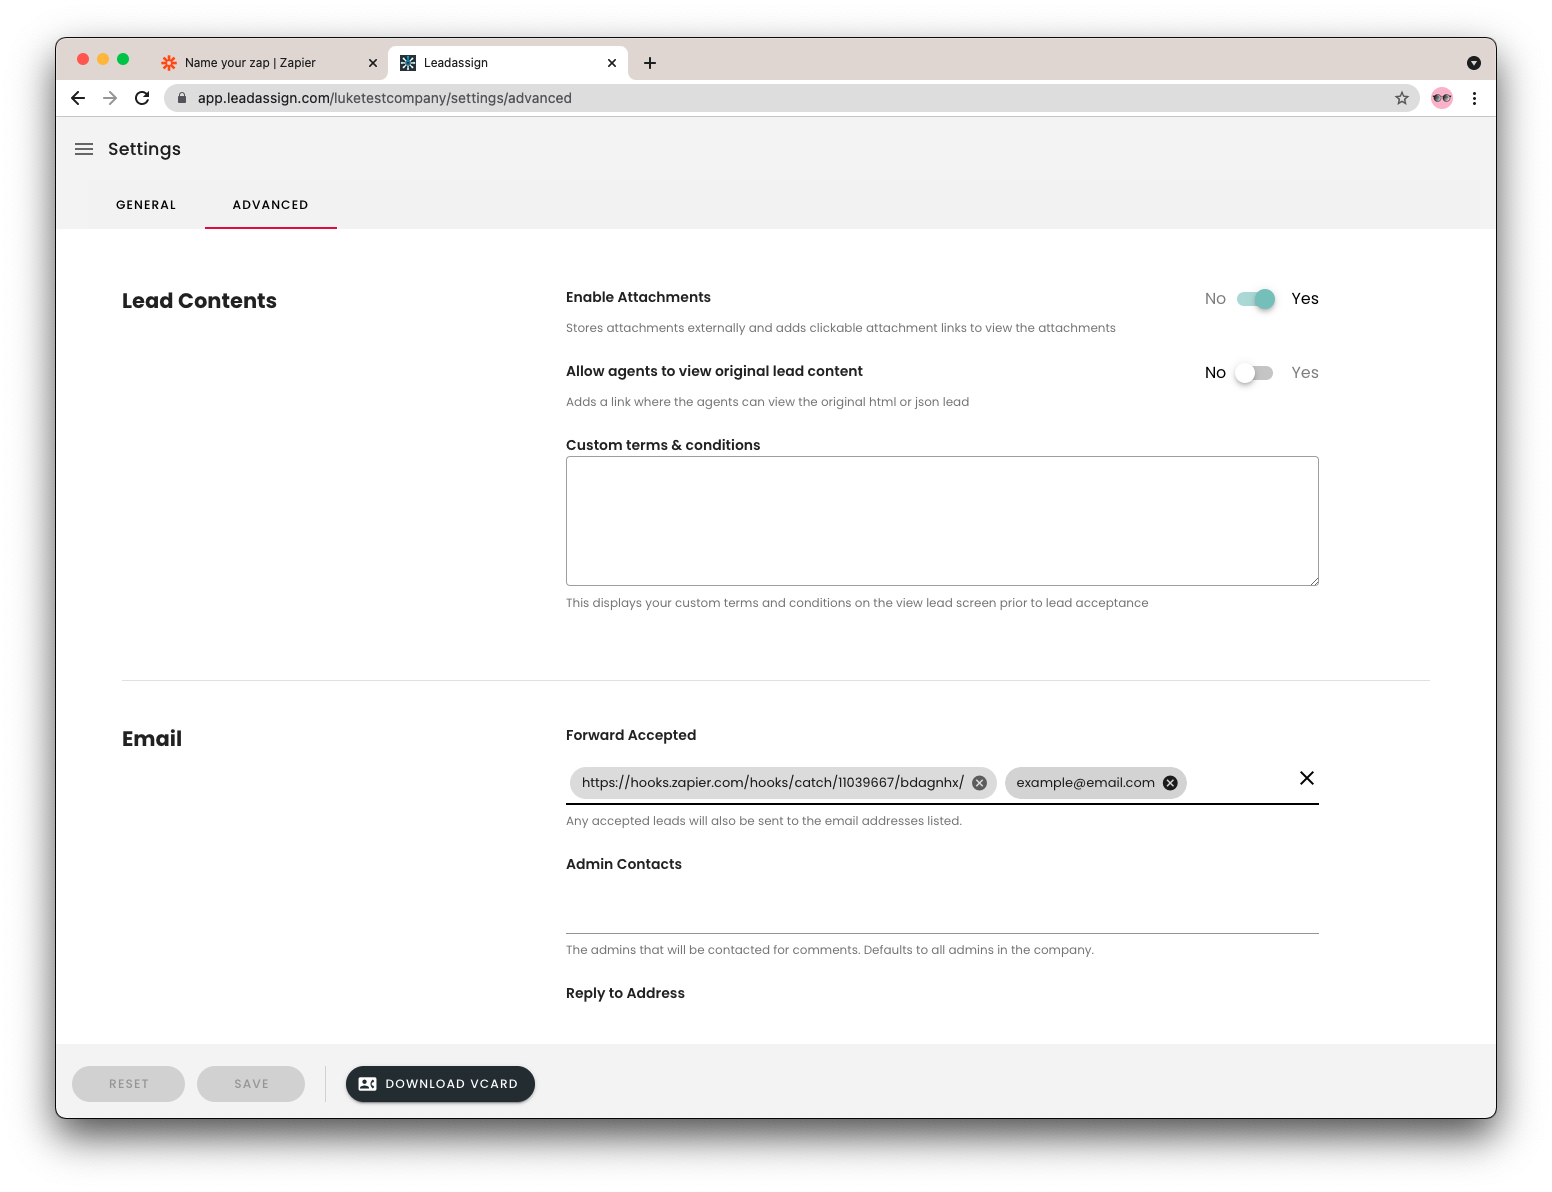
Once your ‘Zap’ is programmed to your liking, an admin can put it into production by pasting the Custom Webhook URL from Zapier into the forward accepted field found under settings/ advanced.

Note you can push data and add additional email addresses by entering separately.